The Olympus FV1000 Confocal Microscope has 6 laser lines (405, 458, 488, 515, 543 and 633 nm), 6 objectives (10x/0.4, 20x/0.75, 40x/1.3 OIL, 60x/1.35 OIL, 40x/0.8 W and 60x/0.9 W). Available dichroic beam splitters: BS20/80, DM405/488, DM/488/543/633, DM458/515 and DM405/488/543.
Scanning confocal, simultaneous 3 color detection, 2 independent spectral detectors (+ 1 additional PMT),
transmission mode.
Effective resolutions
| Obj | XY res [nm] | Z res [um] | zoom @ 1Kx1K |
|---|---|---|---|
| 10x | 664 | 8.9 | 4.7x |
| 20x | 352 | 2.3 | 4.4x |
| 40x O | 201 | 1.0 | 3.8x |
| 60x O | 193 | 0.9 | 2.7x |
| 40x W | 325 | 2.5 | 2.4x |
| 60x W | 289 | 1.9 | 1.8x |
Switch On
(If the PC was not on, it takes a few minutes to restore the HDD.)
Red buttons on the shelf:
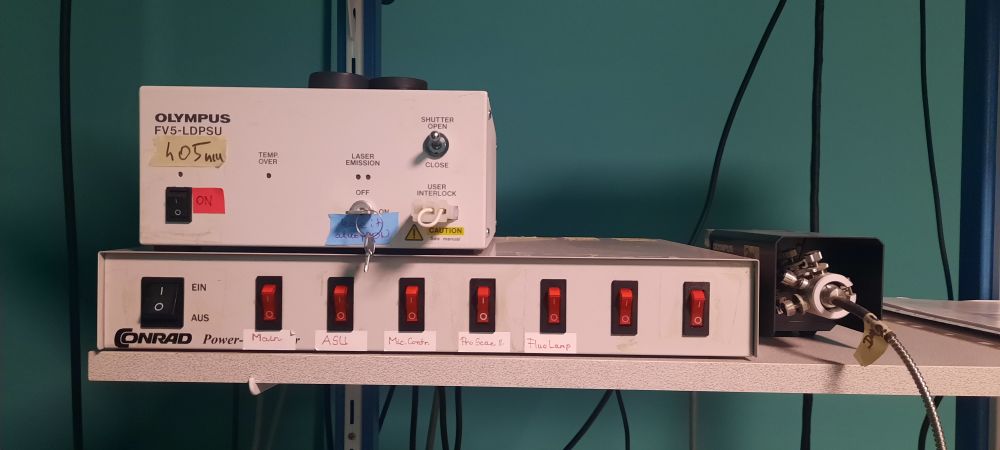
Red buttons on the shelf:
- Main
- ASU
- Mic CTRL
- ProScan
- Fluo lamp - if you need it
It is new, nice and LED based. :-) You don't have to wait for the warm up or cooling down. The CoolLED
P800 source contains 8 LEDs, but til it is not connected to the microscope software, it works as a mixed
white light source. You have to select the proper wavelengths on the mic control board, as before.
The only disadvantage is that the UV excitation is weaker than it was before, don't be frightened...
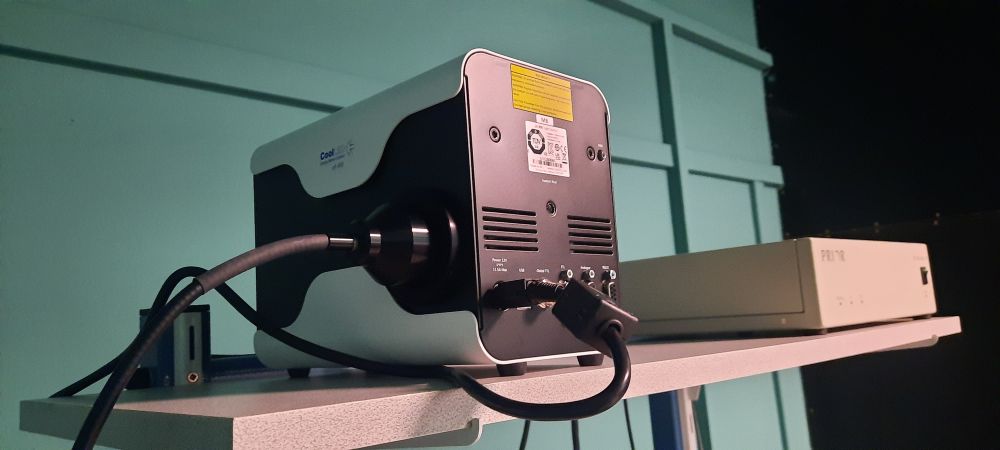
No buttons/switches... You can see the working LEDs through the ventilation holes ;-)
No buttons/switches... You can see the working LEDs through the ventilation holes ;-)
They are on the shelf as well.
For 405 nm laser use the switch (and leave the key in ON position).
For the He-Ne lasers (543, 633 nm) turn the keys.
For Ar-ion laser (458, 488, 515 nm) use the switch and then turn the key.
(They are labelled by red markers.)
For the He-Ne lasers (543, 633 nm) turn the keys.
For Ar-ion laser (458, 488, 515 nm) use the switch and then turn the key.
(They are labelled by red markers.)
Map your network drive (e.g. \\st1.brc\home or \\st18.brc\BOSSNAMEgr "18" may be changed) assigned to a drive letter (e.g. U:).
Remember to write SAMDOM\ before your username. Please, don't store anything on this computer, the
restoration process will delete it daily.
Login for using the microscope - this will calculate your usage time.
Start the FV10-ASW software and select the Guest user.
Login for using the microscope - this will calculate your usage time.
Start the FV10-ASW software and select the Guest user.
Image acquisition
The startup setting of the microscope will be the setting of the previous user - please be sure to change the parameters to your needs.
It is recommended to 'send the scanning parameters to the mic' from a previous image.
Restore previous settings manually:
Restore previous settings manually:
- Uncheck Kalman filter
- Uncheck sequential
- Drag and drop away the dyes
- Set Gain to 1x, Offset to 0%
- Make sure, the shutter in the FL cube turret is open (to the left)
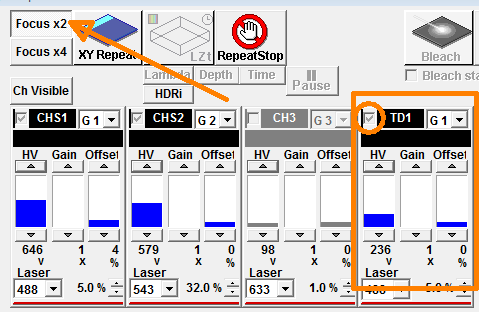
- Switch on at least one channel
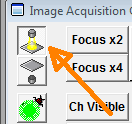
- Check the laser lines by Focus x2 (checkbox ON, some high percentage)
Handlers of the microscope
- Joystick - left big button changes the speed in 3 levels
- Z focus - arrow shows direction for UP
- F/C button (on the side, small, green) changes the speed - it can be set in the software as well: COURSE/FINE
- Objectives: control buttons - can be set in the software as well
- fluorescecne filters: control buttons - UV, GFP, RFP
- conventional transmission
 (light intensity!) and
fluorescence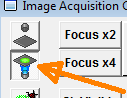 (shutter at the bottom!)
 - laser scanning transmission (can you see the laserspot?)
- bigger pinhole
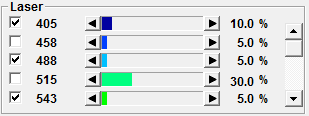
Enable the proper laser lines. Set ~20%-40% laser power of the line that is suitable for your dye.
If some of the are hidden, use right mouse ckick
If some of the are hidden, use right mouse ckick
Warning! If some (switched on) laser line is not visible during the scan, please ask for technical help!
You have to consider the optimal width for the fluorescence emission. The common dye spectra are
stored in the program and it can offer you a setup. 
Don't forget to
Don't forget to
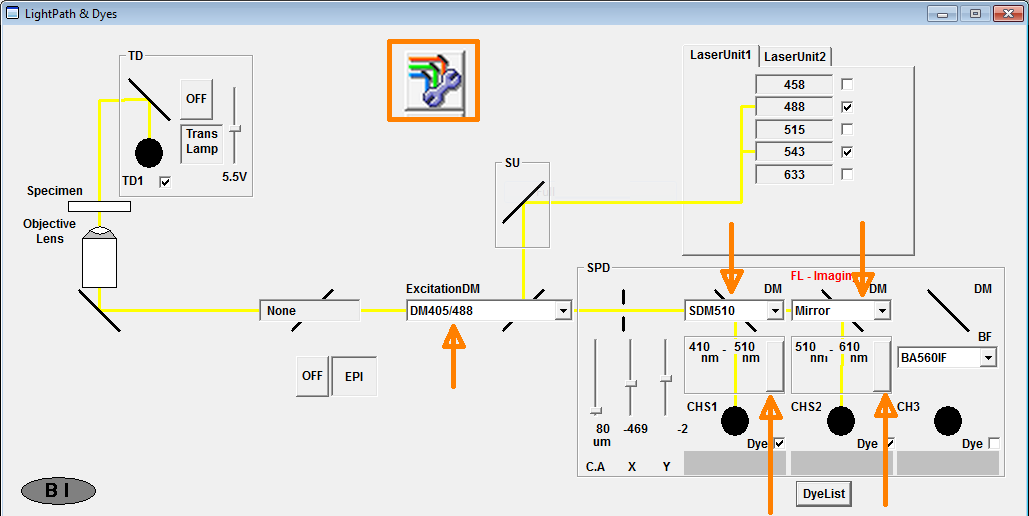
- activate the lasers (405 is in LaserUnit2)
- select the main dichroic mirror (is it suitable for all your laser lines?)
- select the secondary dichroic mirrors
- set the wavelengths for the channels (and activate them, of course...)
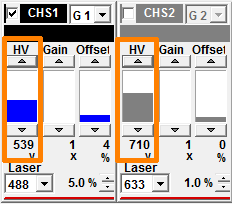
All the used channels should be adjusted separetly. Golden rule is ~800V for fluorescence acquisition.
Check the overloaded pixels by using the Hi.Low LUT option not to have red (overloaded) pixels.
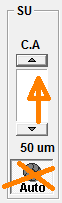
Don't forget to switch on the AutoHV function.
Check the overloaded pixels by using the Hi.Low LUT option not to have red (overloaded) pixels.
Don't forget to switch on the AutoHV function.
Leaving/Switching off - check the reservation
- Save your work - if you need, export the images to TIFF format - to your network drive
- Clean the objective (if you've used oil), lower it to the bottom and select the 10x
- Exit FV10-ASW software: skip the request: "close the shutter in the FL cube turret"!
- "Turn off" the microscope login webpage
- Disconnect your network drive
- Remove the foil from the ocular and don't forget your sample...
- Switch off the fluorescent lamp
- Switch off the DAPI (405 nm) laser
- Turn off the He-Ne laser keys
- Turn off the Ar-ion laser key
- Wait for 3 minutes (use the timer)
- Switch off the Ar-ion laser
- Switch off all the red buttons.
- Cover the microscope - make sure, it doesn't touch the hot mercury lamp!
- Shut down windows.
- Turn off the light.
- If there is nobody around :-) lock the lab and take the key to the gate.